NTC Temperature Sensors Explained: How They Work, Types & Modern Applications
NTC Temperature Sensors Explained: How They Work, Types & Modern Applications
dern electronics are becoming smaller, smarter, and more powerful, making accurate temperature monitoring more important than ever. From smartphones and electric vehicles to medical devices, wearable technology, and industrial automation, NTC temperature sensors play a critical role in protecting electronic systems from overheating while ensuring optimal performance.
Despite their tiny size, NTC thermistors deliver fast, reliable, and highly accurate temperature measurements across a wide range of applications. Their ability to respond quickly to temperature changes has made them one of the most widely used sensing technologies in consumer electronics, automotive systems, HVAC equipment, and IoT devices.
In this guide, you'll learn how NTC thermistors work, explore the different types of NTC temperature sensors, understand the popular 103 NTC thermistor, discover real-world applications, and see why these compact sensors continue to power the next generation of smart technology.
What Is an NTC Thermistor and How Does It Work?
A thermistor is simply a thermal resistor, a component whose electrical resistance changes drastically based on temperature.
Now, you have two basic families here: PTC (Positive Temperature Coefficient) and NTC (Negative Temperature Coefficient).
- PTC: Temperature goes up, resistance goes up. These act like safety fuses.
- NTC: Temperature goes up, resistance goes down. These are your go-to sensors.
When you look at how thermistor works in an NTC setup, it is all about the chemistry. They are made out of ceramic mixes containing metal oxides like manganese, nickel, and cobalt. At room temp, the electrons are locked tight, meaning high resistance. But as it warms up, the atomic jiggling breaks those bonds, releasing a flood of free electrons. More electron paths mean electricity flows way easier!
Types of NTC Thermistors: Bead, Disc, Chip & Glass-Encapsulated Sensors
Depending on what you are building, you can't just grab any random sensor off the shelf. There are three main types of thermistor formats you will run into across the industry.
1. Bead NTC Thermistors: Ultra-Fast Temperature Sensing
These are the ultra-fast ones. You take the ceramic material and mold it directly onto tiny platinum alloy wires, then coat it with glass. Because they are tiny (sometimes just 0.075 mm across!), they have almost zero thermal mass. That makes them a true fast response ntc sensor because they don't have to waste time heating up a giant body before they give you a reading.
2. Disc & Chip NTC Thermistors for Industrial Electronics
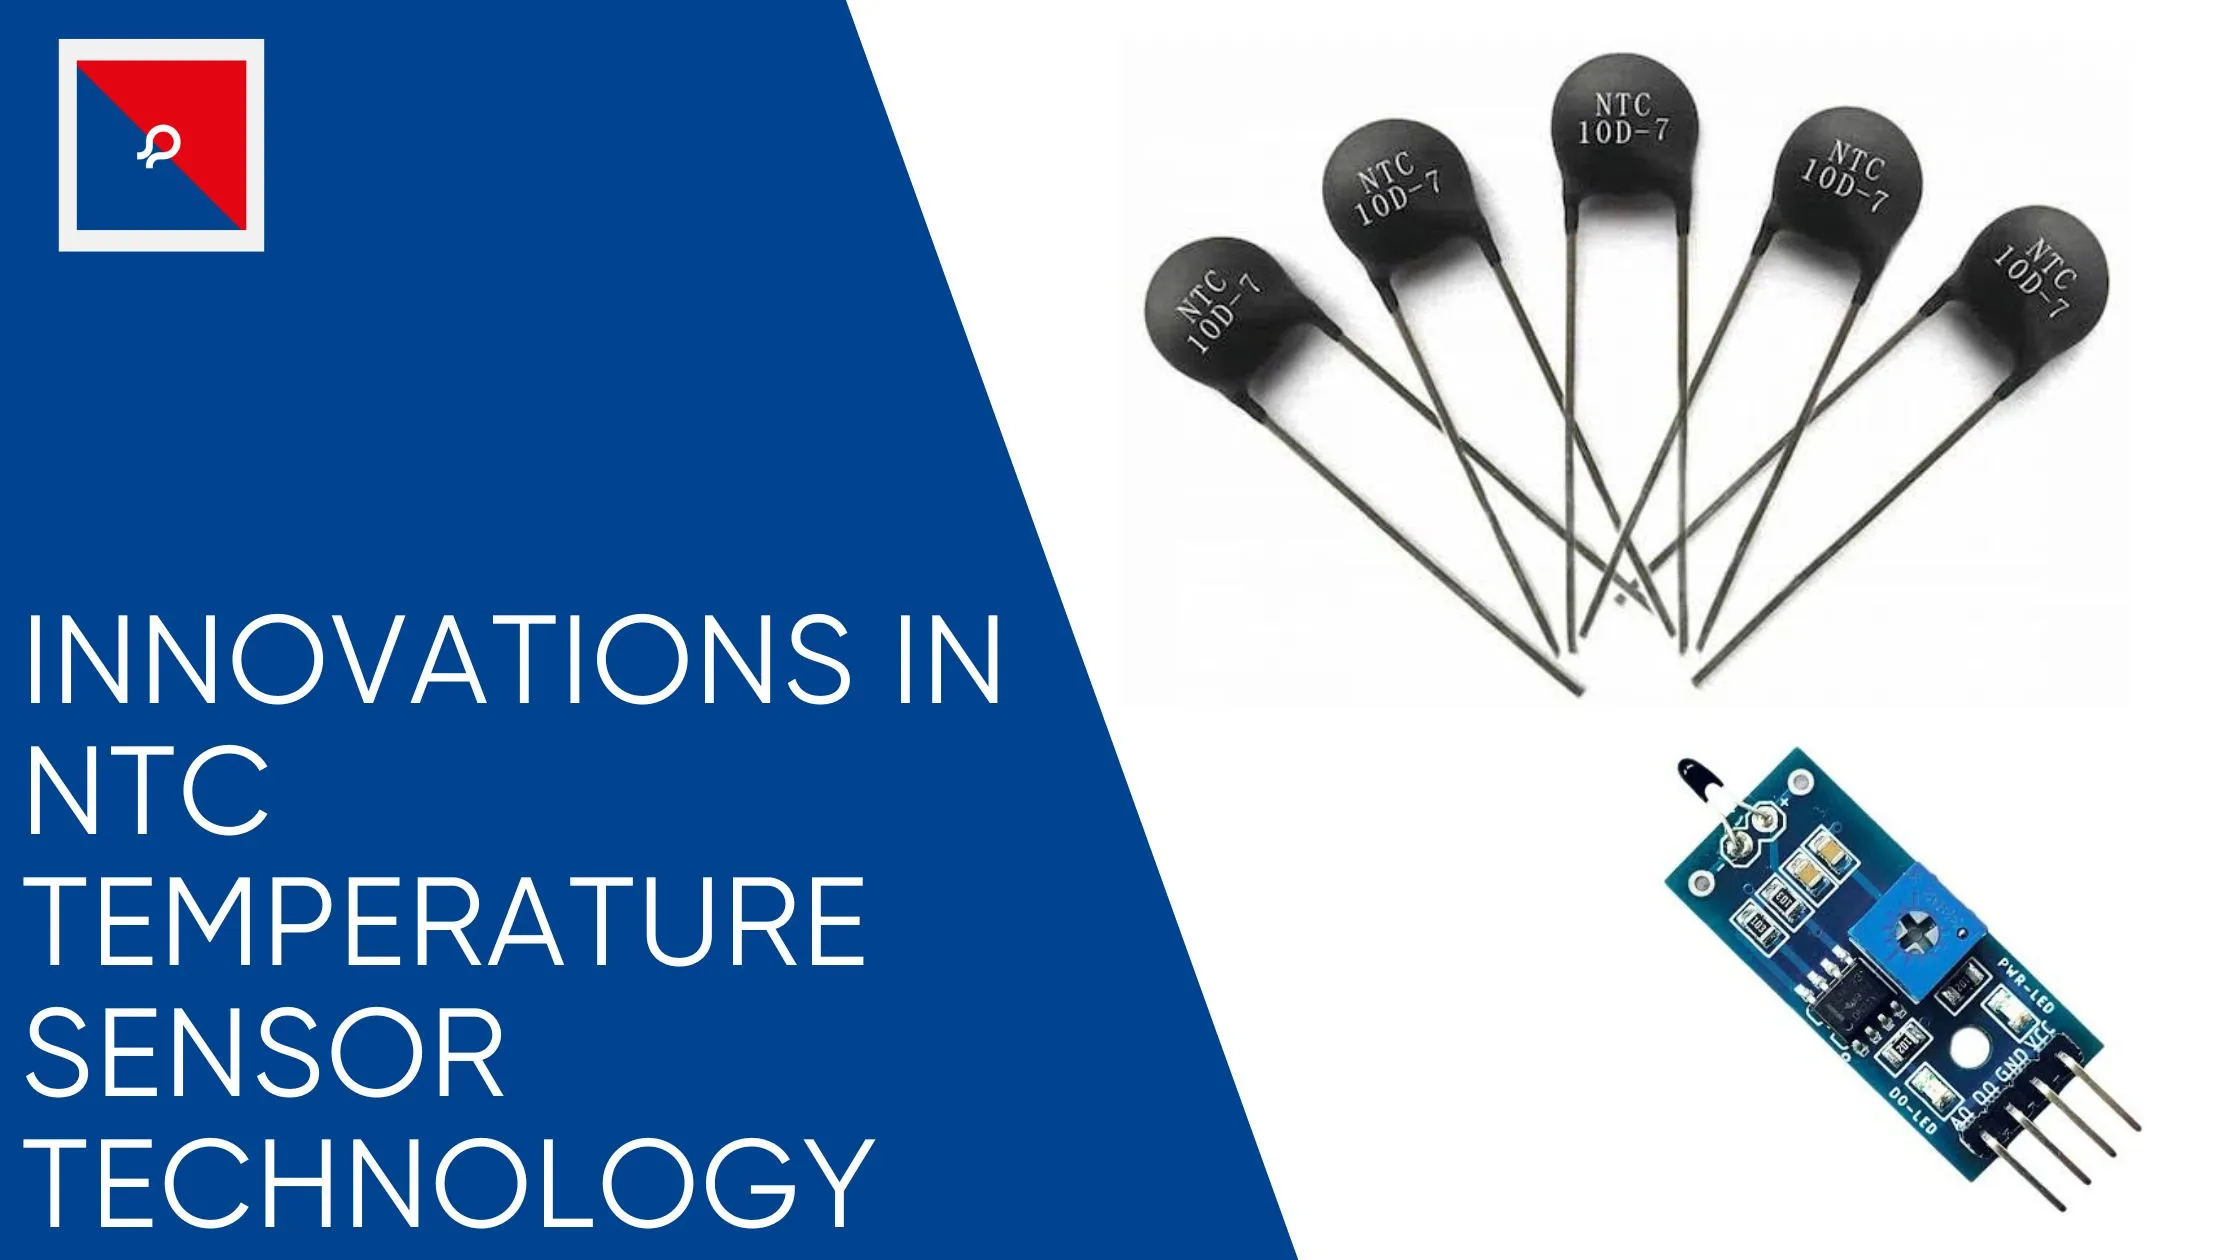
These are made by pressing the oxide powders into flat round shapes or using tape-casting for surface mount chips. They are much larger than beads, which means they react slower. But because they have more physical mass, they can handle way more electrical current without blowing up.
3. Glass-Encapsulated NTC Thermistors for Harsh Environments
If your project is going to live in a brutal environment, like an automotive engine bay or a damp HVAC duct, you need these. The sensor element is sealed inside a tiny glass bubble. This stops moisture from seeping in and messing up your resistance readings, and they can easily survive temperatures past 150C without drifting.
What Is a 103 NTC Thermistor? Meaning, Resistance & Applications
If you have ever opened up an Arduino starter kit or looked at a basic automated circuit diagram, you have definitely seen the 103 ntc thermistor.
What does 103 actually mean? It is a code for the nominal resistance value at standard room temperature (25C). The first two digits are the base numbers (10), and the third digit is the number of zeros after it (3). So, a 103 sensor means it has a baseline resistance of 10,000 ohms, or 10kΩ.
How to Build an Automatic Temperature-Controlled Fan Using an NTC Thermistor
Want to see an ntc thermistor do some actual work? You can set up a super simple automatic cooling fan circuit using just a handful of cheap parts. Here is how you wire it up on a breadboard.
1. Set Up the Voltage Divider: Creating a reference point.
Connect your 103 ntc thermistor in series with a regular fixed 10kΩ resistor across your 9V power rail. The midpoint wire between them will create a shifting analog voltage output as the temperature moves.
2. Wire the Transistor Base: The switching gate.
Take that middle signal wire from your voltage divider and connect it directly to the base pin of a BC547 NPN transistor. The transistor acts like an electronic switch.
3. Connect the DC Fan: Completing the load path.
Connect the negative wire of your small 9V DC fan to the collector pin of the transistor, and wire the positive fan line straight to the positive battery terminal. Ground the transistor's emitter pin.
4. Apply Heat and Watch it Spin: Testing the reaction.
At room temperature, the thermistor resistance is high, keeping the transistor off. Pinch the sensor between your warm fingers, the resistance instantly drops, pushing voltage into the transistor gate, and your fan snaps awake!
How NTC Temperature Sensors Power Wearable Devices & Smart Electronics
As consumer tech shrinks down, standard glass beads are becoming too bulky. Enter the era of the ntc thermistor for wearable devices.
Engineers are now creating flexible, paper-thin surface-mount thin film sensors that sit directly inside fitness bands, wireless earbuds, and medical smart patches. These require an ultra-high precision ntc temperature sensor configuration that can track body changes down to 0.05C accuracy while using almost zero battery power. It's a massive upgrade from those giant chunky copper probes we used to use back in the day.
Conclusion: Why NTC Temperature Sensors Are Essential for Modern Electronics
Whether you are trying to design a high-end medical monitor or just troubleshooting an old HVAC board, understanding how thermistor works makes diagnosing temperature issues a whole lot less frustrating. These tiny metal-oxide blocks have evolved from Faraday's crude raw experiments into highly stable, incredibly fast sensors that keep our modern pocket gadgets safe from self-destruction. Keep them clean, watch your circuit power limits so they don't self-heat, and they'll give you rock-solid data every time!