Your engine relies on several sensors to maintain the right balance of air, fuel, and ignition timing. One of these is the intake air temperature sensor (IAT sensor), which measures the temperature of the air entering the engine and sends this information to the engine control unit (ECU).
Although the IAT sensor is a small component, its readings can influence how the ECU manages engine operation under different conditions. A faulty or inaccurate sensor can contribute to symptoms such as poor fuel economy, rough idling, sluggish acceleration, or difficulty starting.
In this guide, we’ll explain how an intake air temperature sensor works, where it is located, common IAT sensor symptoms, how to troubleshoot it, and when cleaning or replacement may be required.
What Is an Intake Air Temperature Sensor and How Does It Work?
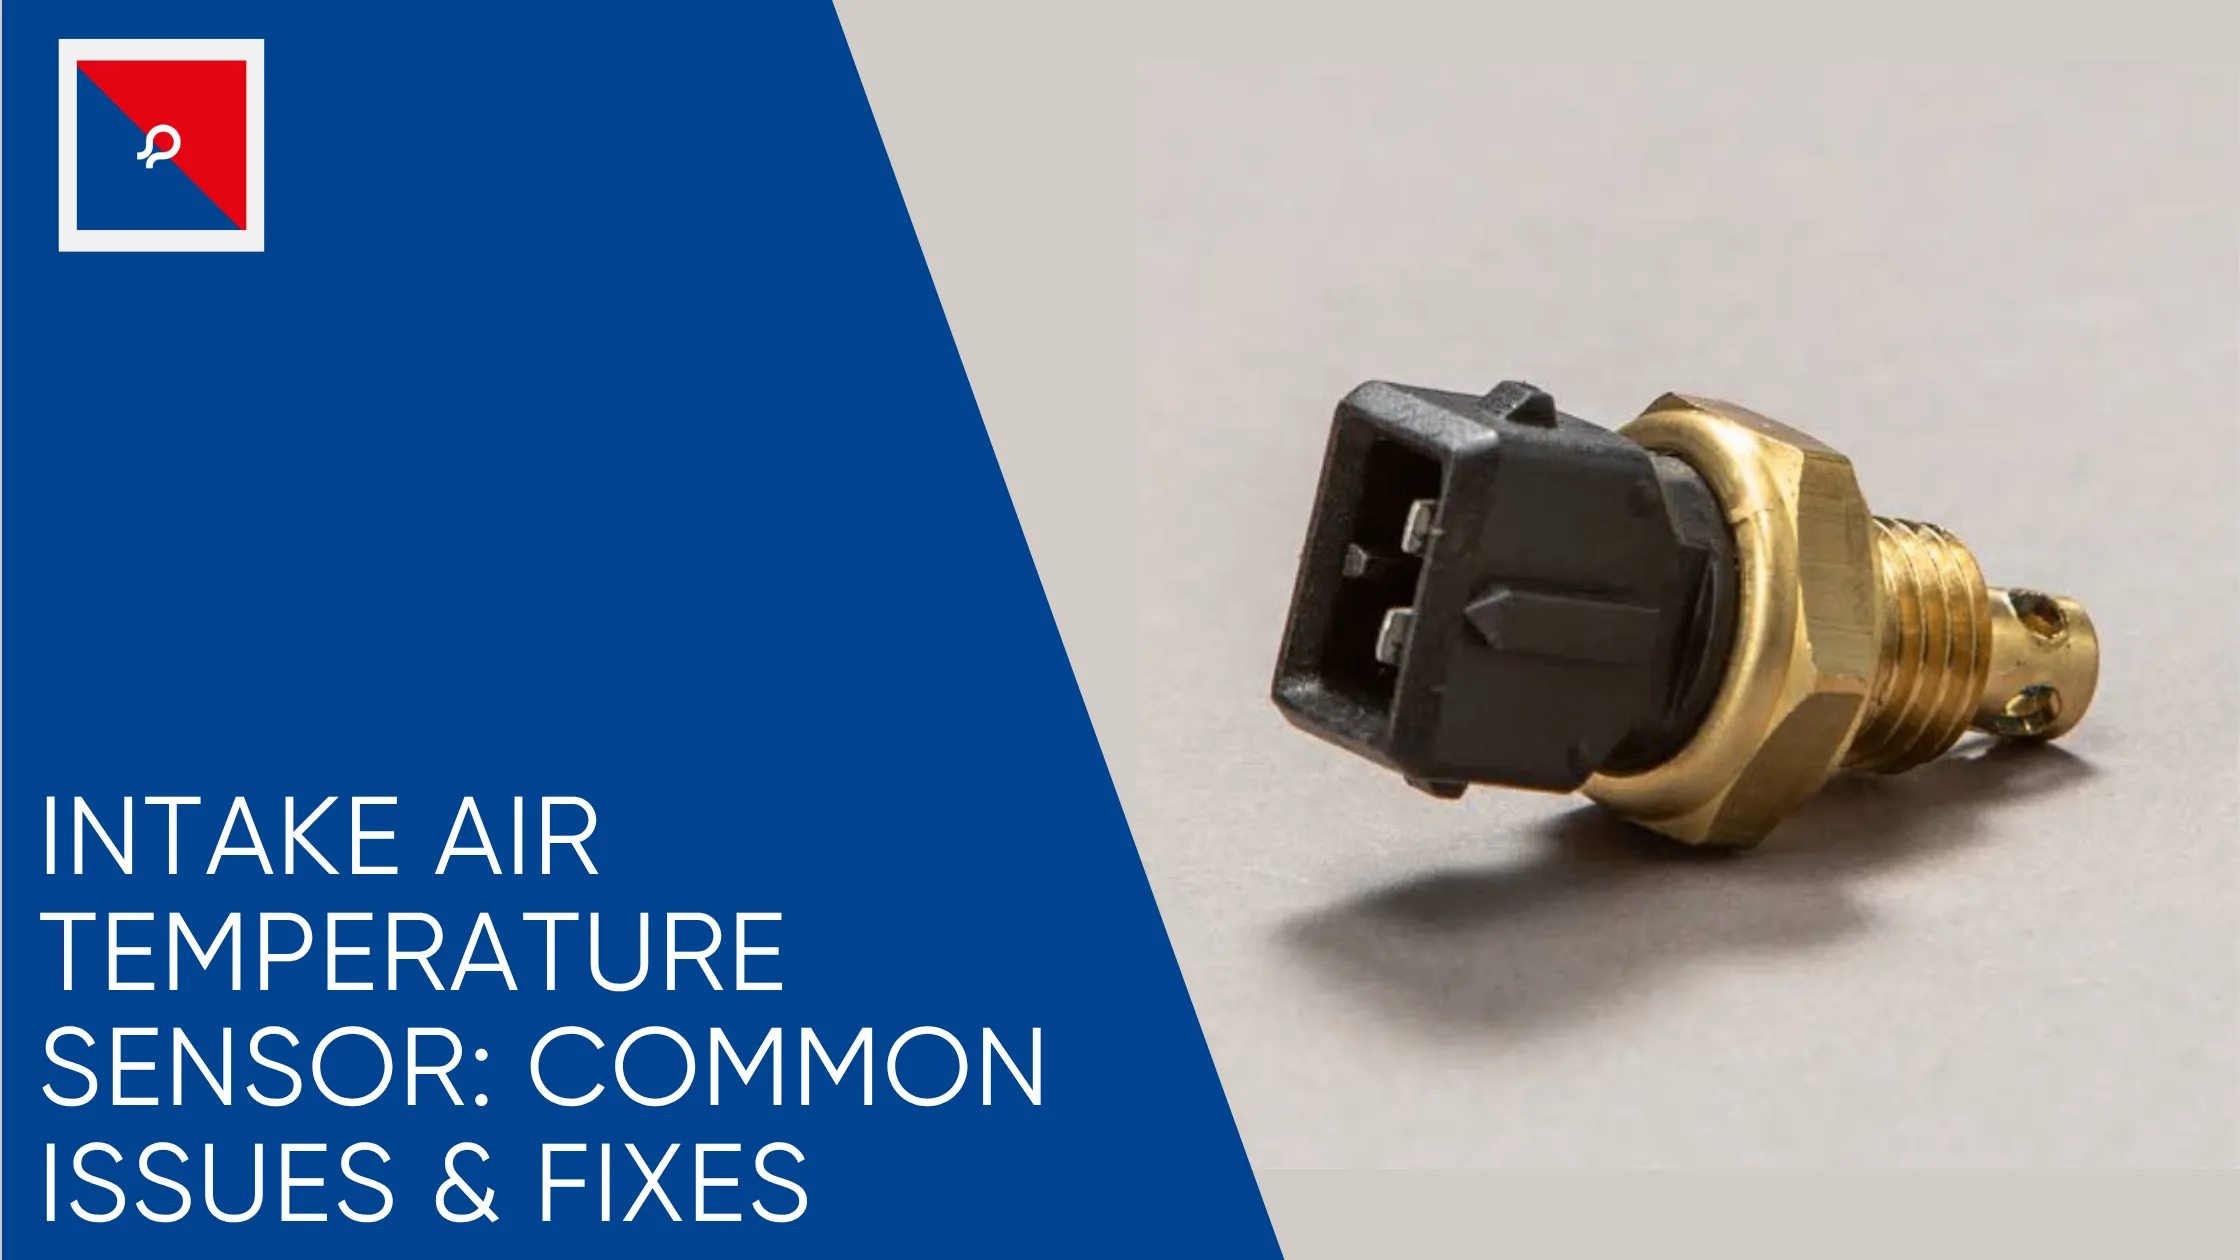
An intake air temperature sensor is an electronic component that measures the temperature of the air entering an engine. The sensor sends a temperature-related electrical signal to the ECU, which uses this information along with inputs from other sensors to manage engine operation.
What Does an IAT Sensor Measure?
The IAT sensor measures the temperature of the incoming air before it enters the engine. This information helps the ECU account for changes in air density caused by temperature differences.
Cold air is generally denser than warm air. Because of this, the temperature of the intake air can affect the amount of oxygen available for combustion.
The ECU considers the IAT reading together with other engine parameters when determining appropriate operating conditions.
How Does the IAT Sensor Work With the ECU?
Many IAT sensors use a thermistor, whose electrical resistance changes as temperature changes.
The sensor's electrical signal is interpreted by the ECU as a temperature reading. The ECU can then use this information along with inputs from sensors such as the mass airflow sensor (MAF, manifold absolute pressure (MAP) sensor, throttle position sensor, coolant temperature sensor, and oxygen sensors, depending on the vehicle's design.
The exact control strategy varies between vehicle manufacturers and engine systems.
5 Common Intake Air Temperature Sensor Symptoms
When an iat sensor starts giving false readings or dies completely, your car’s engine control computer gets confused real fast. Here are the most common bad intake air temperature sensor symptoms you’ll run into:
1. Check Engine Light Comes On
This is usually your first clue. The ECU continuously monitors the signal coming from the air intake temperature sensor. If the sensor reports a wildly impossible temperature (like -40 °F in the middle of July) or if the signal cuts out completely, the ECU logs a fault code (like P0111, P0112, or P0113) and flips on the warning light.
2. Reduced Fuel Economy
If the sensor gets stuck reading cold temperatures all the time, your ECU will dump extra gasoline into the cylinders to compensate. You'll end up burning through fuel way faster than usual, and you might even smell unburnt gasoline coming from your exhaust pipe!
3. Rough Idling and Sluggish Acceleration
Ever hit the gas pedal to pass a truck on the highway and felt your car hesitate or stumble before picking up speed? An inaccurate intake air temperature sensor throws off your air-fuel ratio, leading to poor engine performance, hesitation, and a bumpy, vibrating idle at stoplights.
4. Hard Starting or Engine Stalling
Engines need a richer fuel mixture to start up when the weather turns cold. If your faulty iat sensor misreports that the incoming air is warm, the engine won't get enough fuel during cranking. You'll end up turning the key over and over, or the engine might fire up for three seconds and immediately stall out.
5. Engine Knocking or Detonation
On hot summer days, hot intake air combined with lean fueling creates high cylinder temperatures. This can cause pinging or knocking noises inside the engine block, which can cause real mechanical damage over time if left ignored.
Where Is the Intake Air Temperature Sensor Located?
Finding your intake air temperature sensor is usually pretty straightforward:
- In the Air Intake Tube: On many vehicles, it's a small plastic plug pushed directly into the rubber or plastic intake hose between the air filter box and the throttle body.
- Integrated into the MAF Sensor: On many modern cars, manufacturers combine the iat sensor directly inside the Mass Air Flow (MAF) sensor assembly. If you see a 5-wire or 6-wire connector plugged into your air intake tube, your IAT is built right into that housing!
Can You Drive with a Faulty IAT Sensor?
Technically, yes, your car won't immediately explode or grind to a halt. When the ECU realizes the air intake temperature sensor is dead, it drops into a default "failsafe" mode, assuming a constant temperature (usually around 68 °F or 20 °C).
However, driving long-term with a broken sensor is a bad idea. Running too rich can clog your expensive catalytic converter with soot, while running too lean can overheat your engine valves. Replacing or cleaning the sensor takes minutes and pays for itself in saved gas money within a few fill-ups!
How to Clean or Replace an Intake Air Temperature Sensor?
Replacing an intake air temperature sensor is one of the easiest DIY auto repairs you can tackle in your driveway. Here’s a quick step-by-step guide:
1. Locate and Unplug the Sensor:
Pop the hood and find the sensor on your intake hose. Push down on the plastic locking tab and gently pull the wiring harness connector straight off.
2. Remove the Sensor from the Housing:
Depending on your car model, the sensor either twists and pulls out, clips in with plastic tabs, or is held in place by one or two small screws.
3. Clean or Inspect the Tip:
Look at the sensing element tip. Is it covered in black carbon or oily film? Spray it thoroughly with specialized Electrical Contact Cleaner or MAF Sensor Cleaner (never use WD-40 or brake cleaner, as they leave oily residues or melt the plastic!). Let it dry completely.
4. Reinstall or Swap for a New Unit:
If the sensor is physically cracked or cleaning doesn't fix your check engine light, pop in a new replacement unit, reconnect the wiring plug, and start your engine.
Automotive Temperature Sensors from JR Sensors
At JR Sensors, we know that high-performance automotive and industrial systems rely entirely on precise, real-time environmental data. Whether it's an air intake temperature sensor adjusting fuel ratios in a combustion engine, or an advanced thermal probe protecting an Electric Vehicle battery pack, accuracy is everything.
We design and manufacture high-precision thermistors, temperature sensor probes, and custom sensing modules built to endure extreme thermal cycling, heavy vibration, and chemical exposure without drifting over time. When your machinery demands rock-solid accuracy, JR Sensors delivers data you can trust.